Rear fender
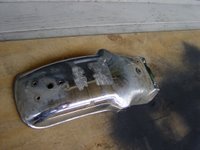
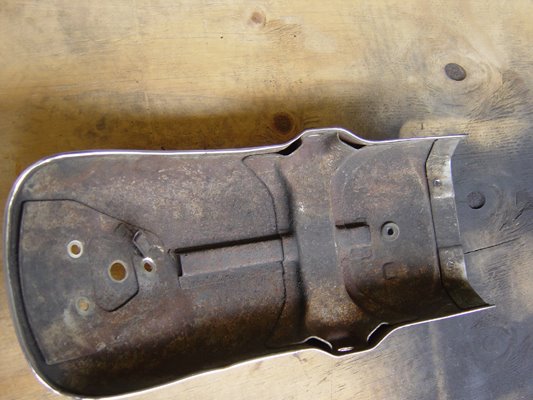
This is a project that I have been working on for a couple of weeks, getting the rear fender how I want it. Here is the fender right after I took it off the bike. Doesn't it look beautiful.......

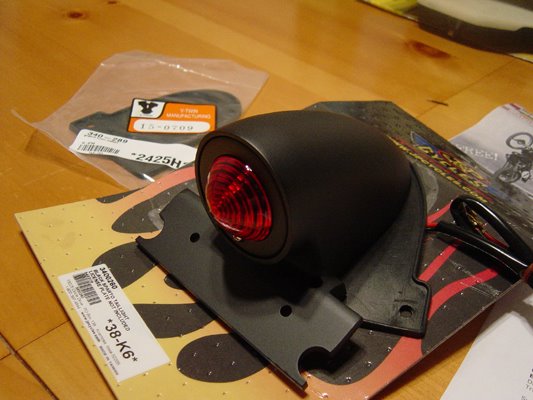
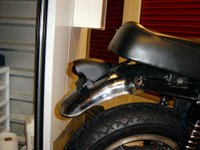
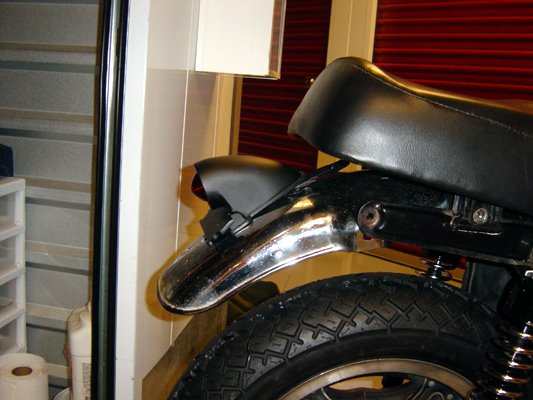
Next I took the fender with my new sparto taillight and seat to the bike. I had to mock up the bike to see where I wanted the light. Originally, I thought I was going to cut the fender smaller but when I mocked it up I realized that it needed to stay it's original size. I think that's perfect placement.
Then with the taillight on the fender I marked the location of where it is going to go. Thank you sharpie.

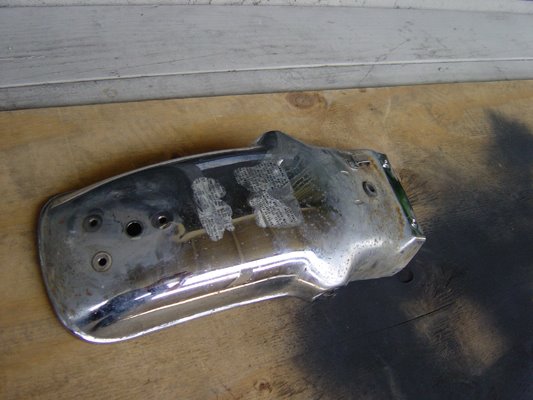
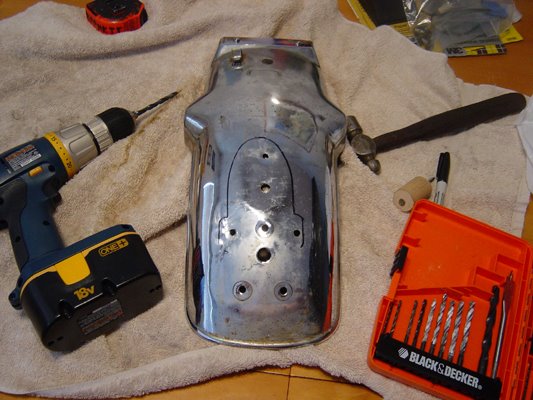
With the fender back home I could see if my markings were straight. They weren't, that's ok. With the location marked out I centered the light and mark the holes that I needed to drill. So I got my drill and bits and went to town. This was a pretty fast painless process. However, on the underside of the fender there was a tunnel (that the wires run through) that I needed to cut back. Here is the holy fender.

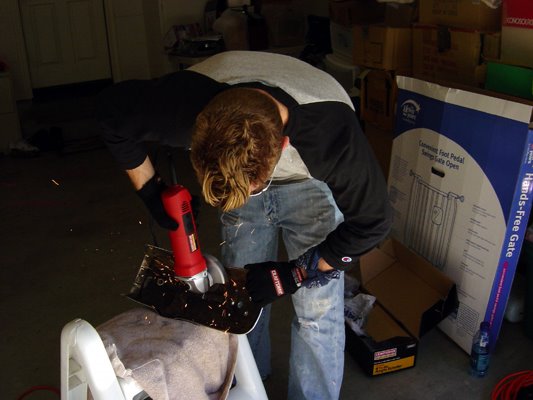
So I fired up the grinder and went to work. Goodbye tunnel. I cut it back far enough so I could get the tail light screwed on but let enough on top so I could protect the wires coming from the new light. Look at those sparks fly.

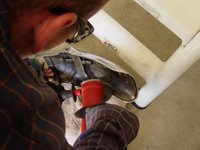
Then I switched to a wire brush and started to do some clean up. My brother joined in to help. This is him putting a little elbow into it.
Here is what it looked like after we grinded it into submission. Much better.

Next I sprayed rust fix to the underside. Then I used the bench grinder and cleaned up the top a little bit more. Here is the fender with the light installed and ready for the bike. I'm slowly making progress.

Next I took the fender with my new sparto taillight and seat to the bike. I had to mock up the bike to see where I wanted the light. Originally, I thought I was going to cut the fender smaller but when I mocked it up I realized that it needed to stay it's original size. I think that's perfect placement.
Then with the taillight on the fender I marked the location of where it is going to go. Thank you sharpie.

With the fender back home I could see if my markings were straight. They weren't, that's ok. With the location marked out I centered the light and mark the holes that I needed to drill. So I got my drill and bits and went to town. This was a pretty fast painless process. However, on the underside of the fender there was a tunnel (that the wires run through) that I needed to cut back. Here is the holy fender.
So I fired up the grinder and went to work. Goodbye tunnel. I cut it back far enough so I could get the tail light screwed on but let enough on top so I could protect the wires coming from the new light. Look at those sparks fly.
Then I switched to a wire brush and started to do some clean up. My brother joined in to help. This is him putting a little elbow into it.

Here is what it looked like after we grinded it into submission. Much better.

Next I sprayed rust fix to the underside. Then I used the bench grinder and cleaned up the top a little bit more. Here is the fender with the light installed and ready for the bike. I'm slowly making progress.

posted by B-rent at 10:51 AM
0 comments
![]()